
How The IP Address Banning Works?
Fundamentally, no one wants to restrict his users from visiting his website but repeated violation in terms or services annoys a website and hence the end results aren’t amusing for the spammers. There are no appropriate ways of banning a Certain IP, but there are few alternatives that do the job quite effortlessly. To Ban certain IP Address we will utilize a JavaScript coding which will automatically redirect unwanted IPs to a new destination. The Script is extremely flexible because we can add unlimited IPs and can also customize the redirecting destination URL.

Whenever, a Visitor who’s IP is in the Blacklist would visit your website he will get a Message that, “Your IP address XYZ is Banned” and then, within seconds it will redirect the banned visitor to a prescribed destination URL. We have attached a screenshot below so everyone can easily understand its meaning.

How To Redirect Unwanted IP Addresses via JavaScript In Blogger?
The JavaScript file will reduce your website’s load time because in this Jquery coding, we have used modest JavaScript, no complexity involved at all. Consider the following instruction. (Remember: The same technique can be applied on any platform i.e. WordPress, Joomla and etc.).
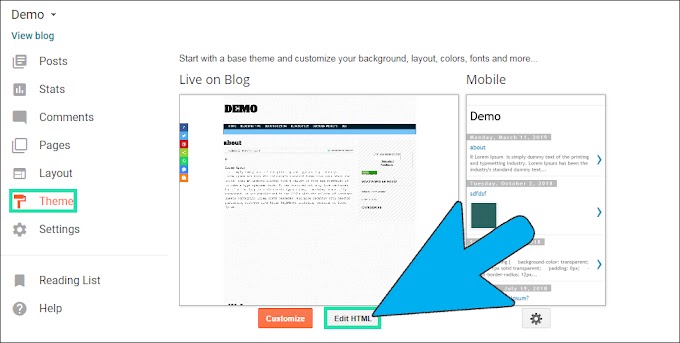
- Go To Blogger.com >> Your Site >> Template.
- Now just Select Edit HTML >> Proceed
- Then within the template search for </head> and above it paste the Following JavaScript coding. Remember: Don’t paste this Coding in the gadget AREA i.e. HTML/JavaScript otherwise it could destroy your site maliciously. This is the reason, why it’s essential that you only add it in your Template portion rather then adding it into your Add a gadget area.
<script>
var ip = 'Your-IP-Here';
function banned(){
alert("!!!!!!!!!!!!!!!!!!!!!!!!!!!!!!!!!!!Attention!!!!!!!!!!!!!!!!!!!!!!!!!!!!!!!!!!!\nYour ip address has been banned!");
history.go(-1);
window.location.replace("http://www.mybloggerlab.com")
}
function ban(){
if (ip == "Banned-IP-1" || ip == "Banned-IP-2" || ip == "Banned-IP-3" ) {
banned();
}}ban();
</script>
- Replace Your-IP-Here with your IP Address so, the script could fetch your LocalHost. Without adding your personal IP Address, this script would stop working.
- Last but certainly not the least Replace Banned-IP-1 the IP Address that you want to ban. There is no limit for IP Banning. Therefore, we can ban unlimited IPs without any problem whatsoever.
All Done: After Add your and the victims IP Address save the Template by pressing "Save Template" Button. Now your site is safe from unwanted users.
From The Editor’s Desk:
Though, we have preciously shared a detailed tutorial on how to Block IP Address in Blogger blog but that tutorial allows to restrict only three IP Address. Therefore, we decided to develop a script that could help users to ban unlimited IP Addresses. Since, we can’t use PHP in Blogger Platform. Thus, we tried to play with JavaScript, and it works like a charm. The script is bug free and would not provide any laggy experience. What are your thoughts about this technique? Take a lot care till then, Peace, Blessings and Happy Blocking.


