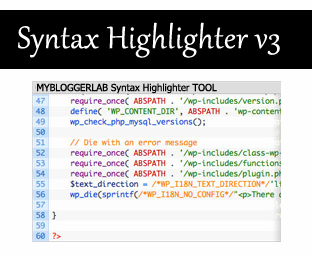
What is Syntax highlighter
Syntax highlighter is a brilliant tool to show CSS, Html, JavaScript, SQL and many other languages code in your post body. It arranges your coding in lines which makes it look more prominent. You will even get the choice to select from multiple themes, which will add more color to your blog and make it look worthwhile.How To Add Syntax Highlighter To Blogger BlogSpot Blog?
Adding syntax highlighter to a blogger is an enjoyable and uncomplicated procedure. We have created an exceptional Syntax Highlighter tool for your convenience so if you follow the following steps sensibly I am certain you will be able to get it right, now let’s look at the tool which we will use in this tutorial.
MyBloggerLab SYNTAX HIGHLIGHTER v3 FOR BLOGGER
- Step#1: First select the theme from our Syntax highlighter Tool, to pick your favorite theme more easily according to your personality check the demo Here
- Step#2: Now we need to choose the Brushes according to our needs, if you are a blogger then you might go with CSS and HTML, but this tool is not limited to bloggers even webmasters and programmers can make use of this tool. So just select CSS, HTML, or whatever you like and then hit the button which says “Generate code”.
- Step#3: Now copy all the code which is generated in the text area and then move to next step.
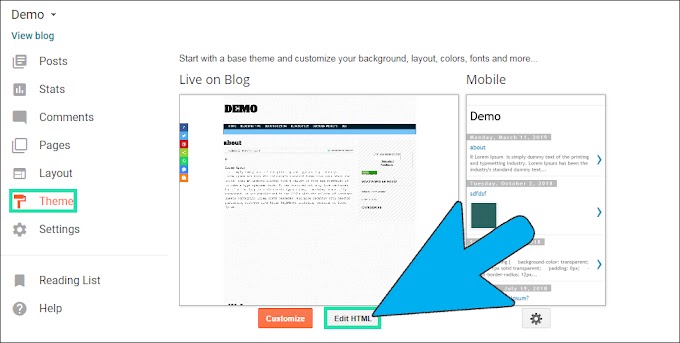
- Step#4: Now go to Blogger >> Template>> Edit HTML>> Proceed
- Step#5: Then within the template Search for </head>
- Step#6: Now when you find the </head> ending tag, just above it paste the code which you copied previously from the Syntax Highlighter Tool.
Congratulations! Syntax highlighter is now fully integrated in your blogger BlogSpot Blog. And now you can use Syntax highlighter with command.
Insert HTML/CSS/JavaScript Code in Your Posts Using SyntaxHighlighter:
Now if you want to insert CSS coding in your template then Go to Blogger.com >> Post >> Add New Post >> Select Edit HTML Tab and paste the following code.
<pre class="brush:css;">ADD-THE-CSS-CODE-HERE </pre>
For HTML Coding:
<pre class="brush:html;">ADD-THE-HTML-CODE-HERE </pre>
For JavaScript Coding:
<pre class="brush:javascript;">ADD-THE-JavaScript-CODE HERE </pre>
Customization:
Replace ADD-THE-HTML-CODE-HERE with your CSS style sheet coding.
Don’t forget to replace ADD-THE-HTML-CODE-HERE with your HTML.
Replace ADD-THE-JavaScript-CODE HERE with your JavaScript coding.
If you have not integrated the Syntax highlighter correctly using our tool, then the possibilities are extremely high that you might notice a pop out which will indicate that something is going wrong. For Example, you are using <pre class='brush:css;'></pre> in your blog post but you have not included the CSS Syntax highlighter scripts in your header then you will see the following error.

From the Editors Desk:
So we hope you have enjoyed the treat and make sure you use it with command till then peace, blessings and happy learning.


